

A water leak insurance claim goes smoother in this order: stop the water at the stopcock, make the area safe, then notify your insurer straight away. Photograph the damage before cleaning up, get a professional detection report to prove the source, then get repair quotes. Insurers settle faster when the cause and the damage are both documented clearly.
In This Guide
The first hour: stop and make safe
Every water leak insurance claim starts the same way, before any paperwork gets touched. Find your stopcock and turn it off. In most Scottish homes it sits under the kitchen sink; in tenement flats, check the hall cupboard or the close. If you cannot find it, our guide on how to find your stopcock walks through the usual hiding places.
Switch off electrics near standing water and move anything valuable out of the way. If the leak is coming through a ceiling, put a bucket underneath and pierce the bulge carefully to release the water in a controlled way rather than letting the plaster give way on its own.
Once the water is off and the area is safe, resist the urge to start mopping and drying straight away. That comes later. The next hour is about documenting the scene, not tidying it.
Do not throw anything away yet. Damaged carpets, skirting boards and furnishings are evidence for your claim. Photograph everything first, and keep items until your insurer or loss adjuster confirms they can be disposed of.
Step-by-step claim sequence
Once the immediate danger is dealt with, a water leak insurance claim follows a fairly predictable sequence. Working through it in order saves time later, because insurers ask for the same information whichever stage you are at.
Step 1: Notify your insurer
Call your insurer’s claims line as soon as you reasonably can, even if you have not yet found the source of the leak. Most policies expect prompt notification of an "escape of water" event. Give a plain description: what happened, when you noticed it, and what you have done so far.
Step 2: Document everything
Photograph and video every affected room before you move or dry anything. Note the date and time. Keep receipts for any emergency work, such as a plumber called out to stop the flow, since these are usually claimable.
Step 3: Get a professional leak detection report
Before repairs start, get the source of the leak properly identified and written up. A detection report gives your insurer clear evidence of where the water came from and why, which most claims need before repair work is approved.
Step 4: Get repairs quoted
Once the leak is found, get quotes for fixing the pipe and for making good the damage. Some insurers ask you to use their approved contractors; others let you source your own and reimburse you. Check your policy schedule before booking anyone.
Step 5: Submit the claim
Send your insurer the detection report, photographs, repair quotes and any receipts together. A complete submission at this stage is what actually moves a claim from "under review" to "approved".
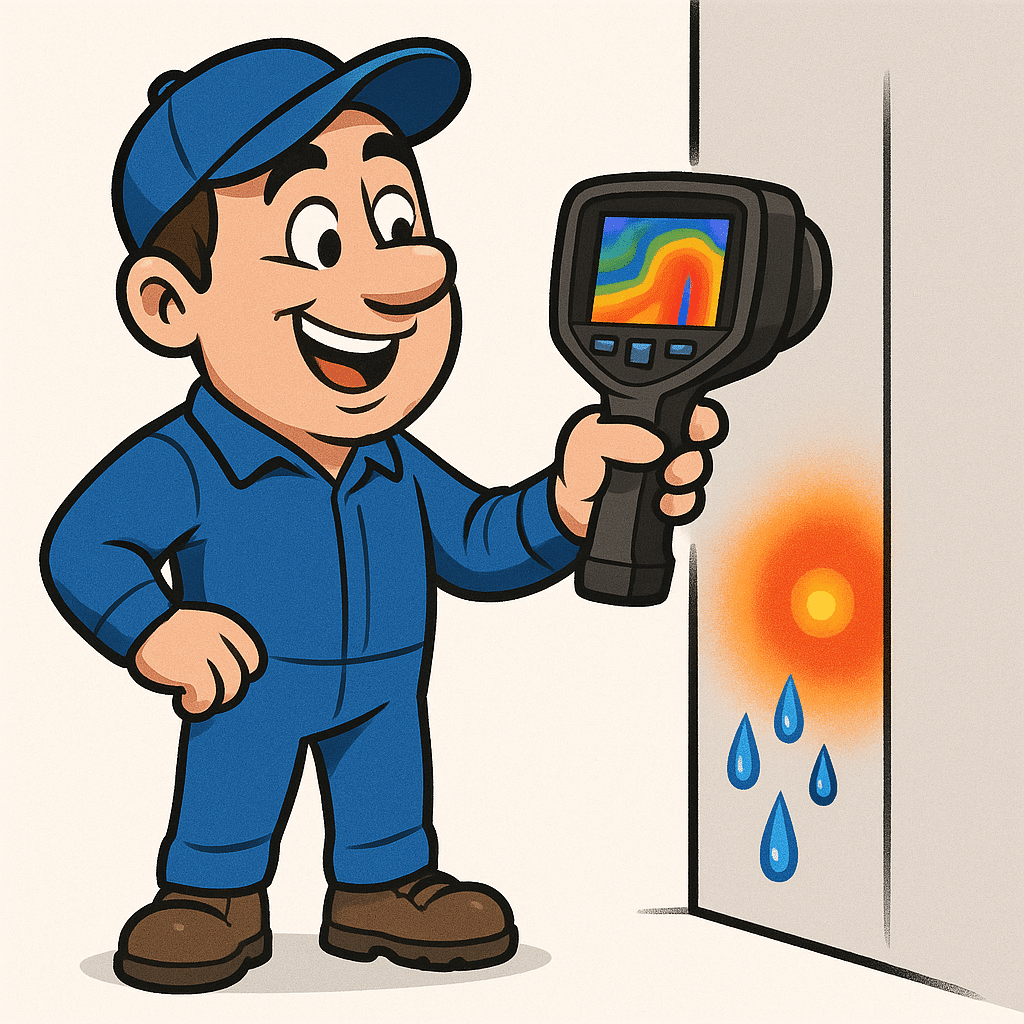
Proving where the water actually came from
A damp patch on its own does not tell an insurer much. A moisture scan like the one pictured here maps exactly how far the water has travelled through a wall, which helps separate a small, contained leak from one that has been running for months. That distinction often decides how much of the damage gets covered.
What loss adjusters actually want to see
A loss adjuster’s job is to work out what happened, how much it will cost to put right, and whether the policy covers it. They are not trying to catch you out, but they do need evidence, not just a description.
In practice that means a clear timeline (when the leak started or was noticed), photographs of the damage before any repair work began, and something that proves the actual source of the water rather than just where it ended up. A stain on a ceiling could come from a dozen different pipes above it. Adjusters want to know which one.
They also want to see that you acted reasonably once you knew there was a problem, turning the water off promptly and not letting a small leak run for weeks. Insurers expect a claim to reflect an escape of water they can trace and verify, not an assumption.
- A clear cause. Which pipe, fitting or appliance failed, and where.
- Dated evidence. Photographs and notes from as close to the event as possible.
- Proof of prompt action. Records showing you shut off the water and reported the leak without delay.
- An independent report. Something written by a specialist, not just your own account of events.
How a detection report speeds up settlement
An insurance-approved detection report does the job an adjuster would otherwise have to do themselves: it identifies the source, records the method used to find it, and sets out the extent of the damage in a form insurers recognise. That tends to shorten the back-and-forth considerably.
We survey using thermal imaging, acoustic listening and tracer gas, all non-invasive, so nothing needs to be dug up or torn out just to confirm where the water is coming from. The tracer gas method uses a safe mix of 5% hydrogen and 95% nitrogen pushed into the pipe; escaped gas is picked up at the surface with a sensitive probe, pinpointing the exact spot.
Every survey comes with an insurance-approved report. We have carried out more than 5,000 of these across Scotland over 30-plus years, with a 99% success rate in locating the leak, and same-day visits are available in most areas.
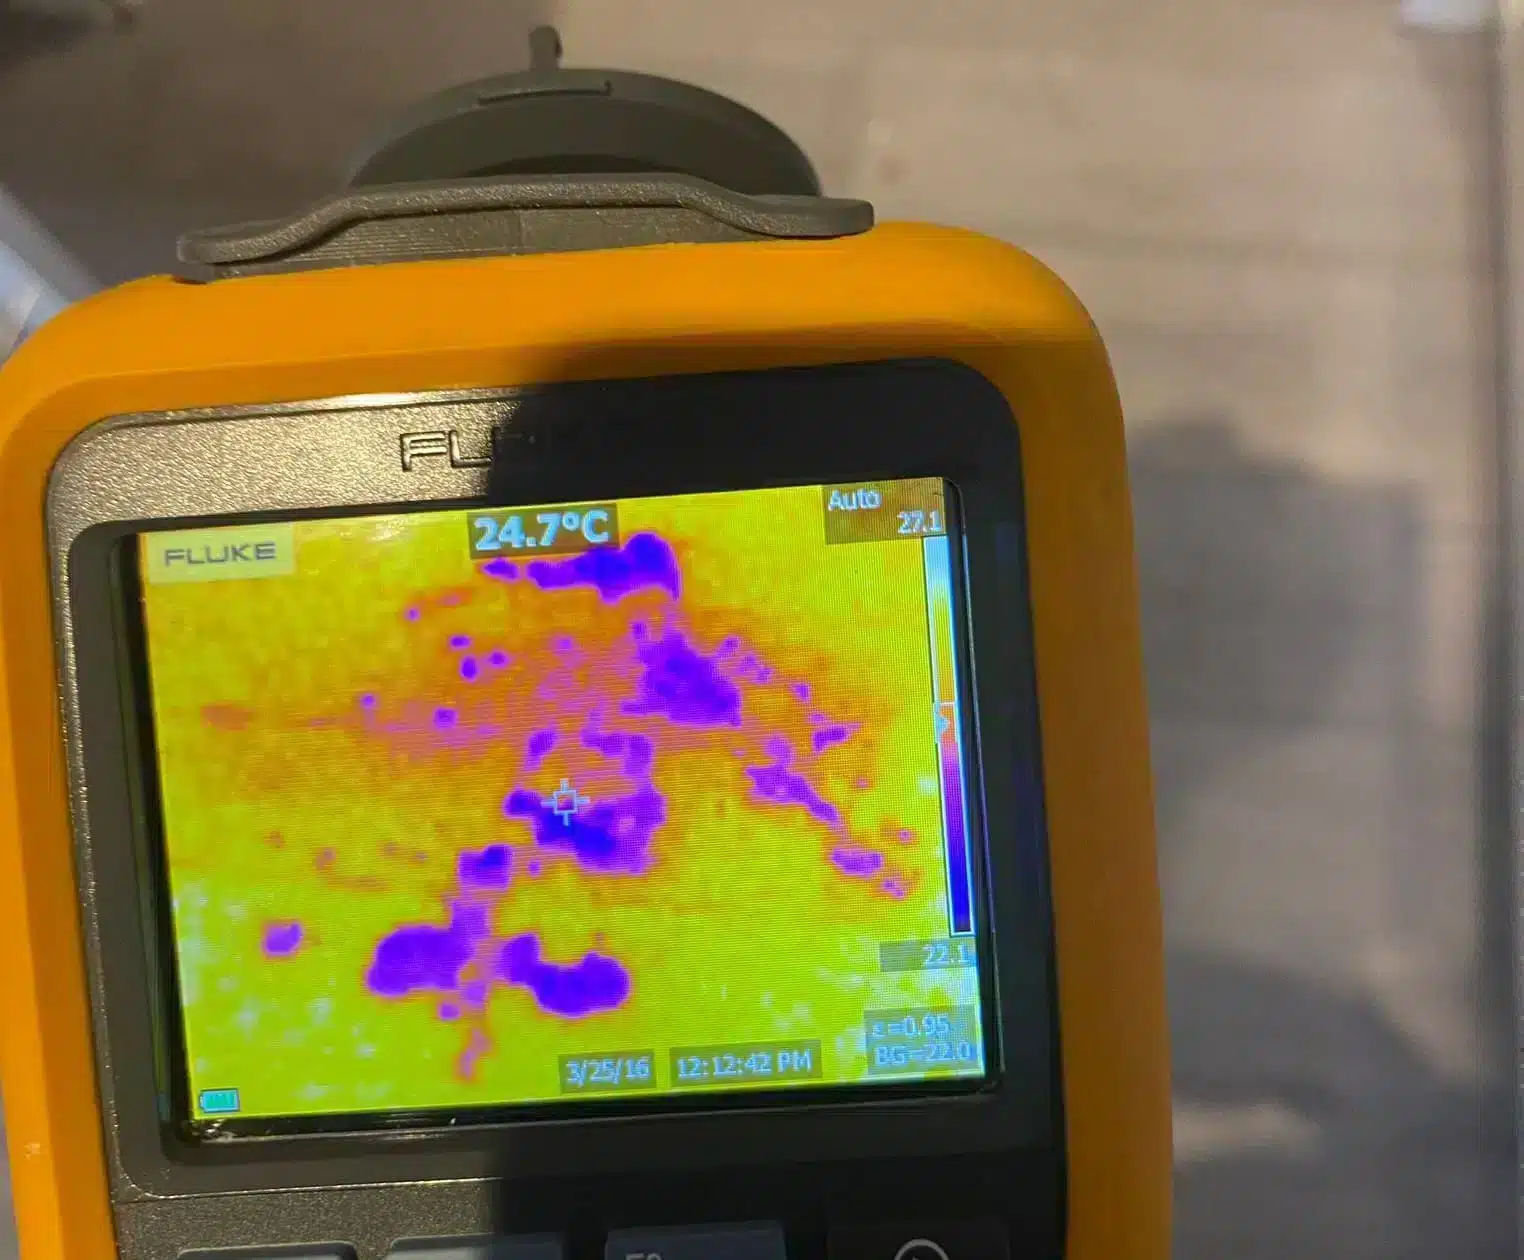
Why the method matters to your claim
A thermal imaging survey, like the one shown here, reads temperature differences across a wall or floor without lifting a single tile. That matters twice over: it keeps trace-and-access costs down, and the resulting report gives your insurer a documented, repeatable method behind the finding, rather than a guess.
Need a Detection Report for Your Claim?
Our surveys are non-invasive and come with an insurance-approved report your insurer can act on straight away. Same-day visits are available across Scotland.
Trace and access cover, recapped
Most Scottish households pay for water through their council tax bill rather than a meter, per mygov.scot, so a domestic leak here usually will not show up as a spike on a water bill the way it might in a metered home. The cost shows up instead as damage, wasted heat and the expense of finding the leak in the first place. That last part is where trace and access cover matters.
Trace and access cover pays for finding the leak and accessing it, lifting floors or opening up a wall, and making good the damage that search causes. It does not pay to repair the pipe itself. Price-comparison service Confused.com notes that most buildings policies cover up to about £5,000 of trace-and-access costs, usually as standard, though it is always worth checking your own schedule.
Water damage generally, the Association of British Insurers notes, is covered as standard in buildings insurance, and escape of water costs UK insurers around £1.8 million in payouts every single day. For the fuller picture on what your policy is likely to include, see our guides on whether home insurance covers water leaks, what trace and access cover actually pays for, and a plain-English explanation of trace and access. Our own trace and access service is built specifically around this part of the process, finding the leak with the least possible disruption.
Insurer NFU Mutual puts the average burst-pipe claim at around £10,000, which is a useful reminder that the cost of a proper detection survey is small next to the cost of guessing wrong and repairing the wrong section of pipe.
Mistakes that delay a claim
Most delays we see come down to the same handful of avoidable mistakes, not anything unusual about the leak itself.
Helps your claim move
- Notifying your insurer within a day or two
- Photographing damage before any clean-up
- Getting an independent detection report early
- Keeping receipts for emergency callouts
Slows your claim down
- Waiting weeks to report the leak
- Ripping out damaged flooring before it is photographed
- Starting repairs before the cause is confirmed
- Assuming the source without an actual survey
We see this most weeks with tenement flats, where the source turns out to be a shared supply pipe rather than anything inside the reporting owner’s flat. Under the Tenement Management Scheme, repair costs for common pipes are usually split between owners according to the title deeds, so establishing whether a leak is individual or common is not just a technical detail. It changes who pays for what.
Rented properties add another layer. Landlords are responsible for repairing leaks from pipes or fixtures within the home, according to Shelter Scotland, so tenants who spot a leak should report it to the landlord or letting agent promptly rather than waiting to see if it clears up on its own.
Frequently Asked Questions
As soon as reasonably possible, ideally within a day or two of noticing it. Most policies expect prompt notification of an escape of water. Delaying does not stop you claiming, but it can raise questions from your insurer about how long the damage was left unaddressed.
Most insurers want clear evidence of the source before approving repair costs, and a professional detection report is the most reliable way to provide that. It confirms exactly where the water came from and gives the loss adjuster something documented to work from, rather than guesswork.
It covers the cost of finding the leak and accessing it, such as lifting floors or opening a wall, plus making good the damage that search causes. It does not cover repairing the pipe itself. Confused.com notes most buildings policies include cover of up to about £5,000 for this.
Only emergency work needed to stop further damage, such as a plumber capping a burst pipe. Full repairs and reinstatement work are best left until your insurer has confirmed cover, or you risk paying for work that was not agreed as part of the claim.
Owners generally share responsibility for common supply pipes, with costs split according to the title deeds or, where the deeds are silent, the statutory Tenement Management Scheme. Notify your insurer regardless, since an escape of water from a common pipe can still affect your own claim.
Often yes, but a gradual, long-running leak can be treated differently to a sudden escape of water, and some policies exclude damage from prolonged seepage. Report it as soon as you find it and let your insurer confirm what your specific policy covers.
Every affected room, close-up shots of damp patches, stains and any visible pipework, plus wide shots showing the extent of the damage. Do this before cleaning up or removing damaged items, and keep the photos dated where possible so your insurer can see exactly when the damage was recorded.
Tenants should report leaks to the landlord or letting agent as soon as they are spotted. According to Shelter Scotland, landlords are responsible for repairing leaks from pipes or fixtures in the home, and tenants who delay reporting risk being held liable for further damage.
📍 Professional Leak Detection Across Scotland
Don’t Let a Small Problem Become a Big One
A detection report from us gives your insurer the proof they need, without lifting a single floorboard until we know exactly where to look. Non-invasive surveys, insurance-approved reports, and same-day visits across Scotland.